How To
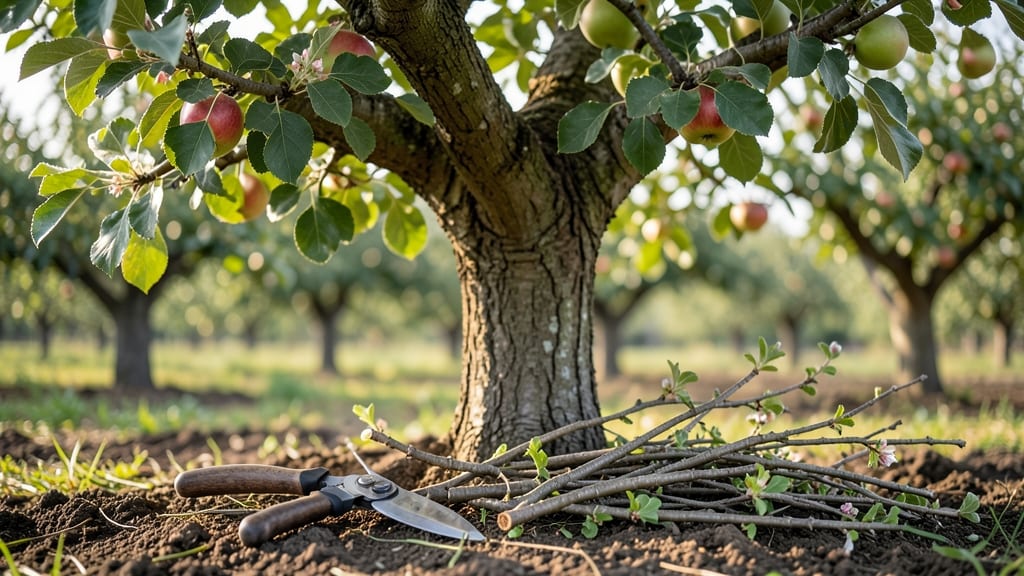
Pruning apple trees isn’t just about shaping branches—it’s the secret to bigger harvests and trees that last decades. I’ve spent years watching my own apple trees transform from tangled messes to productive powerhouses after a few strategic cuts each year, and the difference in fruit quality is night and day.
The key isn’t just when you prune, but how—and I’ll show you the exact techniques that prevent disease while maximizing sunlight for those sweet, juicy apples.
Start with the right tools: sharp bypass pruners for clean cuts, a saw for thicker branches, and rubbing alcohol to sterilize tools between cuts (trust me, this prevents 90% of fungal problems).
Timing matters too—dormant season pruning in late winter cleans up winter damage, while summer pruning opens the canopy for better airflow. Even a small tree needs just 30 minutes of focused work, and the payoff is fruit that ripens evenly and stays on the tree longer. The worst mistake?
Over-pruning—never remove more than 25% of the tree’s canopy in one session.
📚 In This Guide
- What you need
- Instructions
- Tips and common mistakes
- Wrapping up and next steps
What you need
- ● Pruning shears (secateurs): Sharp, bypass-style shears (4-6 inches long) for clean cuts on small branches.
- ● Loppers: Long-handled (24-36 inches) for thicker branches (½–2 inches in diameter).
- ● Pruning saw: A curved-tooth saw for branches thicker than 2 inches.
- ● Gloves: Heavy-duty, cut-resistant gloves to protect your hands from thorns and rough bark.
- ● Disinfectant (70% rubbing alcohol or bleach solution): Clean tools between cuts to prevent disease spread.
- ● Pole pruner: For high branches (extendable up to 10–12 feet).
- ● Rope or tarps: Tie down large branches or lay them out to dry before disposal.
- ● Ladder or stump: If your tree is tall (6+ feet), a sturdy ladder ensures safe reach.
- ○ Marking paint or tape: Highlight cuts for future reference (optional for beginners).
- ● Check the weather: Prune on a dry, calm day (avoid rain or wind).
- ● Know your tree’s age: Young trees (under 5 years) need lighter pruning than mature ones.
- ● Review your pruning goals: Are you shaping, thinning, or removing dead wood? Plan ahead!
Step-by-Step guide for pruning apple trees
Here's the method I've used for years to keep my orchard thriving.
Choose the Right Time for Pruning
Timing matters more than most gardeners realize. For dormant pruning, do it in late winter or early spring before buds swell—this is the best time to shape the tree and remove dead wood. If you're doing summer pruning, focus on thinning out crowded branches after harvest to improve airflow and fruit quality.
Watch for the first signs of bud swell—tiny green bumps along the branches. That's your cue to grab your pruners. Never prune when the tree is actively flowering, as you risk removing next year's fruit buds. I always mark my calendar for February in cold climates or March in milder zones.
Gather Your Tools and Safety Gear
You'll need sharp hand pruners for small branches, loppers for medium-sized limbs, and a pruning saw for anything thicker than your wrist. Don't skimp on quality—dull tools crush wood instead of making clean cuts. I keep a pair of gloves handy to protect against thorns and a ladder for reaching higher branches.
Safety first: Wear long sleeves and closed-toe shoes. Apple trees can be aggressive with their thorns, and you don't want any unexpected scratches. I also bring a small bucket to collect cuttings for composting or firewood. A sharp tool sharpens your work—clean your blades with rubbing alcohol between cuts to prevent disease spread.
Remove Dead, Diseased, or Crossing Branches
Start by scanning the tree for any branches that are dead, diseased, or rubbing against each other. These are your top priorities. Dead wood is easy to spot—it's gray, brittle, and won't bend. Diseased branches often have dark spots, oozing sap, or unusual growths. Cut these out first, making your cuts just outside the branch collar where it meets the trunk.
Crossing branches compete for sunlight and nutrients, weakening the tree. Look for limbs growing directly toward each other—they'll eventually rub and create wounds. When removing a branch, cut at a 45-degree angle just outside the branch collar. Never leave stubs, as they invite rot and pests. I always step back after each cut to check the tree's new shape.
Thin Out Crowded Branches for Better Airflow
Apple trees produce fruit on spurs—those little clusters of buds along branches. If branches are too crowded, airflow suffers, and diseases like apple scab thrive. Aim to keep the center of the tree open so sunlight reaches all parts. Remove branches that grow inward or downward, as they'll block light and create a dark, damp environment.
Focus on thinning rather than topping. Topping—a drastic cut to reduce tree height—stimulates weak, water-sprout growth. Instead, make cuts just above an outward-facing bud. You'll see these buds as tiny bumps on the branch. A well-thinned tree has an open vase shape, letting sunlight and air circulate freely. I like to visualize the tree as an umbrella—wide at the top but with space in the middle.
Shape the Tree for Optimal Growth
Young apple trees benefit from a central leader system, where one main trunk grows upward with branches spaced evenly along it. For older trees, an open-center shape works best, with branches spreading outward from the center. Step back often to check your progress—you want a balanced silhouette, not a lopsided mess.
Prune to encourage fruit-bearing wood. The best fruiting happens on 2- to 4-year-old wood, so avoid cutting back into old, bare wood. If you see a branch with lots of spurs (those clusters of buds), keep it. If it's long and bare, it's not contributing much. I always leave at least one-third of the tree's foliage to maintain its energy reserves.
Tips & tricks for pruning apple trees
These simple tricks will help you prune like a pro and keep your apple trees thriving for years to come.
Timing is Everything: In Step 1, if you're unsure about bud swell timing, look for the first tiny green bumps along branches—those are your signal. I've learned the hard way that pruning too early can leave your tree vulnerable to cold damage, while waiting too long risks removing next year's fruit buds. For cold climates, February is your window; in milder zones, aim for March. This timing ensures you're working with dormant wood that's ready for shaping.
Tool Maintenance Matters: Step 2 emphasizes sharp tools, but here's what nobody tells you—clean your blades between each cut. I use rubbing alcohol on a cloth to wipe down pruners, loppers, and saws after every few branches. This prevents spreading disease from one cut to the next, which is especially important when dealing with apple trees prone to fungal infections. Dull tools don't just make work harder; they create jagged cuts that heal poorly.
Visualizing the Tree's Shape: When thinning in Step 4, imagine your tree as an umbrella—wide at the top with space in the middle. The open center isn't just about looks; it's about sunlight penetration. I like to hold my pruners at a 45-degree angle and make cuts just above outward-facing buds. This creates an open vase shape that lets air circulate freely, reducing humidity where diseases like apple scab love to thrive. Step back every few cuts to check your progress.
Preserving Fruit-Bearing Wood: Step 5 mentions leaving at least one-third of the foliage, but here's the detail that makes all the difference: focus on keeping branches with spurs—those clusters of buds where fruit forms. When you see a branch with multiple spurs, that's your keep-it branch. The best fruiting happens on 2- to 4-year-old wood, so avoid cutting back into older, bare branches. I always scan for these spurs before making any cuts, as they're the tree's promise of next year's harvest.
Pro Tips for Prune Apple Trees
- These simple tricks will help you prune like a pro and keep your apple trees thriving for years to come.
- Timing is Everything: In Step 1, if you're unsure about bud swell timing, look for the first tiny green bumps along b...
- Tool Maintenance Matters: Step 2 emphasizes sharp tools, but here's what nobody tells you—clean your blades between e...
Frequently asked questions
Got questions about pruning apple trees? You’re not alone! Here are answers to the most common concerns—whether you’re a beginner or a seasoned gardener looking to refine your technique.
When is the best time to prune apple trees?
The ideal time is late winter or early spring (just before buds swell), but you can also prune in summer to remove water sprouts. Avoid pruning in fall—it invites fungal diseases. For young trees, focus on shaping in winter; mature trees benefit from light pruning in both seasons.
How much should I cut off an apple tree in one session?
Never remove more than 25% of the tree’s canopy in a single pruning session. Over-pruning stresses the tree, reducing fruit production. For young trees, aim for 10-15% per year to encourage strong growth. Always prioritize removing dead, diseased, or crossing branches first.
Will pruning reduce my apple harvest?
Not if done correctly! Pruning improves fruit quality by increasing airflow and sunlight. However, heavy pruning in the wrong season (like late summer) can delay fruiting. Focus on opening the canopy and removing suckers—this boosts yield over time. Patience pays off!
What if my apple tree bleeds sap after pruning?
Sap bleeding (a watery ooze) is normal in early spring but isn’t harmful. It’s the tree’s way of “healing.” To minimize it, prune on dry, cool days (not freezing) and avoid cutting into large branches. If bleeding is excessive, apply a thin layer of pruning sealant to wounds—though healthy trees often don’t need it.
Can I prune apple trees without special tools?
Basic pruning can start with just a sharp bypass pruner and loppers, but for larger branches, a pruning saw or pole pruner is a game-changer. Disinfect tools between cuts (rubbing alcohol works) to prevent spreading disease. For safety, wear gloves—apple tree thorns aren’t kidding!
What do I do if my tree looks over-pruned or stressed?
If you’ve gone overboard, don’t panic! Focus on recovery pruning: leave small branches (they’ll sprout leaves faster) and avoid cutting back to large stubs. Water deeply, mulch the base, and skip heavy fertilizing. The tree will bounce back in 1–2 seasons—just give it time and gentle care.
Wrapping up and next steps
Pruning your apple tree is like giving it a fresh start—a little effort now means bigger, healthier harvests later! 🍏✨ By following seasonal best practices, removing dead wood, and opening the canopy for sunlight, you’ll encourage strong growth and delicious fruit.
Don’t wait—grab those pruners and get started! Next, check out our guide on fertilizing apple trees to keep them thriving year-round.