Landscaping
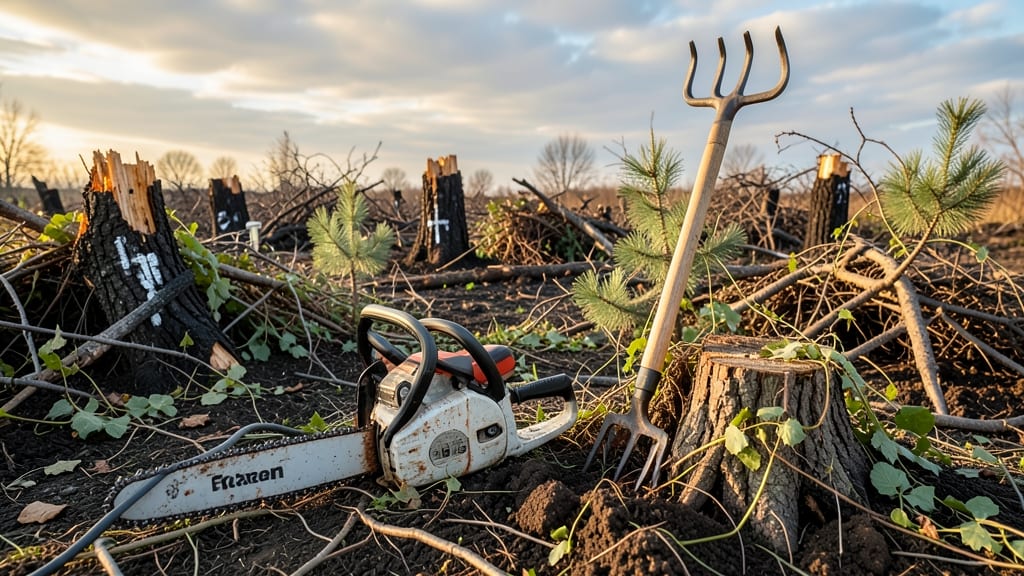
Clearing land of small trees and brush in a single weekend isn’t just possible—it’s the game-changer that finally gave me the blank slate I needed for my vegetable garden. 🌱 The key is methodical work, the right tools, and knowing when to cut, when to mulch, and when to haul away.
I’ve learned that rushing leads to injuries and wasted effort, but a plan turns a chaotic mess into a manageable project that leaves you with usable space by Sunday night.
You’ll need basic tools like a chainsaw (for thicker branches), loppers (for smaller limbs), gloves, and safety gear—goggles and ear protection are non-negotiable. For eco-friendly disposal, mulching the brush on-site works if you’re prepping for a garden, while controlled burning (where legal) handles larger piles.
I’ve repurposed cleared debris into compost or firewood, cutting both waste and costs. The real secret? Starting with the smallest trees first and working outward to avoid getting overwhelmed.
By the end of the weekend, you’ll have a cleared area ready for planting, with soil exposed and brush either mulched or removed. The satisfaction of seeing progress—especially after weeks of planning—is unmatched.
Plus, you’ll avoid the frustration of tangled roots or stubborn stumps holding back your garden dreams. Here’s how to make it happen without the usual headaches.
This method works for backyard plots, homestead clearings, or even preparing land for raised beds. Whether you’re making room for a new garden or just tidying up overgrown areas, the same principles apply. Let’s turn that brush pile into usable space—efficiently and safely.
📚 In This Guide
- What you need
- Instructions
- Tips and common mistakes
- Wrapping up and next steps
What you need
- ● Chainsaw: Gas-powered (14"-18" bar) or electric (corded or battery-operated) for cutting small trees and thick brush. Pro Tip: 🔥 Always wear protective gear when using one!
- ● Pruners/Loppers: Bypass pruners (for small branches) and loppers (18"-24" for thicker branches).
- ● Hand Saw: Bow saw or pruning saw for precision cuts on stubborn brush.
- ○ Axe or Mattock: For chopping roots or breaking up stumps (optional but helpful).
- ● Rake: Heavy-duty bow rake (12"-18" teeth) to clear debris and level the ground.
- ● Shovel: Round-point shovel for digging roots or moving soil.
- ● Wheelbarrow: 2-3 cubic feet capacity to haul away brush and debris.
- ● Work Gloves: Heavy-duty, cut-resistant gloves (e.g., Mechanix or similar).
- ● Safety Gear: Safety goggles or face shield
- ● Ear protection (if using loud tools)
- ● Steel-toe or composite-toe boots
- ● Long sleeves/pants (preferably with reinforced fabric)
- ● Stump Grinder: Rent one if you need to remove stumps quickly (or use a stump remover tool).
- ● Brush Chopper: Attaches to a tractor or ATV for larger brush piles.
- ● Firewood Splitter: If you plan to repurpose cut branches as firewood.
- ● Spray Bottle with Soap/Water: For cleaning tools and preventing rust.
- ● Flagging Tape: To mark hazards or boundaries (safety first!).
- ● Weather Check: Clear, dry conditions—avoid windy or rainy days.
- ● Permits: Check local regulations if clearing large areas or protected species.
- ● Help: Enlist a friend or hire assistance for heavy lifting or safety.
- ● Disposal Plan: Arrange for brush disposal (burn pile, landfill, or composting if allowed).
Step-by-Step guide for clearing brush and small trees
Here's how to tackle the job safely and efficiently—no heavy equipment needed.
🪴 Step 1: Mark and Plan Your Work Area
Walk the entire area and mark where you'll cut each tree or brush pile with spray paint or flags. Focus first on the smallest trees and brush—these are easiest to remove and give you momentum. I always start with the perimeter and work inward to avoid getting boxed in.
Measure the diameter of each tree trunk at chest height. Trees under 6 inches in diameter can be cut with a handsaw or pruning saw, while anything thicker needs a chainsaw. Brush piles should be no taller than 4 feet—taller ones are harder to drag and burn safely.
Check local burn regulations before you begin. Some areas require permits for open burning, and wind conditions can make brush fires dangerous. If burning isn't an option, plan to haul debris to a landfill or compost site.
✂️ Step 2: Cut and Remove Trees and Brush
Start with the smallest trees. Use a pruning saw for branches under 2 inches in diameter and a handsaw for thicker branches. For trees, cut a notch on the side facing the direction you want it to fall, then make a horizontal cut just above the notch. The tree should fall cleanly—if it doesn't, you'll need to adjust your cuts.
For brush, cut at the base with a machete or loppers, leaving 6-12 inches of stump. This makes it easier to drag the debris later. I like to bundle brush into 4-foot sections and tie them with baling twine for easier transport. If you're burning, keep piles small—3 feet wide by 4 feet long is ideal for safe, controlled burning.
Wear heavy gloves, long sleeves, and safety goggles. Brush can have thorns, and falling branches can cause serious injuries. Work with a partner if possible—having an extra set of hands makes the job faster and safer.
💧 Step 3: Clear and Dispose of Debris
Drag cut trees and brush to a central pile or designated burn area. If you're hauling debris, load it onto a trailer or dump it into a wheelbarrow. For large branches, use a rope to pull them—never drag them by hand to avoid injury.
If burning, build a U-shaped firebreak around your burn pile to contain the flames. Keep a hose or bucket of water nearby in case the fire spreads. Light the edges first, then work inward. Never leave a burn pile unattended—even small embers can ignite dry grass or leaves.
For non-burning disposal, rent a dumpster or take debris to a local landfill. Some landfills charge by weight, so sorting lighter brush from heavier wood can save money. If you're composting, chop larger branches into 2-3 inch pieces to speed decomposition.
☀️ Step 4: Finish with Soil and Safety Checks
Once all debris is removed, rake the area to clear any remaining roots or small branches. Look for stumps over 4 inches in diameter—these may need to be dug out or treated with stump remover later. For now, mark them with flags so you can address them in a follow-up session.
Check for any hazards left behind, like buried nails, broken glass, or sharp rocks. A quick walk with gloves and safety glasses ensures you don’t miss anything. If the ground is uneven, consider renting a rototiller to level it out for planting or landscaping.
Finally, dispose of all tools and equipment properly. Clean your saw blades with a wire brush to remove sap and rust, and sharpen them for next time. Store leftover spray paint, twine, and other supplies in a dry place for future projects.
Tips & tricks for clearing land of small trees and brush
Real talk: Clearing land efficiently means avoiding common mistakes that waste time and energy. These tricks will help you work smarter, not harder, while keeping safety top of mind.
Safety First: I can't stress this enough—wear heavy-duty gloves, long sleeves, and safety goggles at all times. Brush can hide thorns and splinters, and falling branches have surprising momentum. I've seen too many people skip this step and end up with nasty cuts or worse. Also, work with a partner whenever possible; having an extra set of hands makes the job faster and safer. In Step 2, when you're cutting trees, position yourself so you're never in the path of a falling branch.
Cutting Strategy: When making your initial notch in Step 2, use a bright-colored spray paint to mark the direction you want the tree to fall before you make any cuts. This visual cue prevents costly mistakes. For brush piles, keep them under 4 feet tall—this makes dragging them much easier and reduces the risk of them toppling unexpectedly. I bundle brush into 4-foot sections and tie them with baling twine; this creates manageable loads that won't unravel when you're dragging them.
Fire Safety: If you're burning debris, create your U-shaped firebreak at least 10 feet wide—this gives you extra room to contain any stray embers. I always keep a garden hose connected and ready nearby, even if I think the fire is under control. Lighting the edges first (as mentioned in Step 3) creates a natural barrier that prevents flames from spreading outward. Never leave a burn pile unattended, even for a quick bathroom break.
Equipment Care: After finishing, take 10 minutes to clean your tools properly. Use a wire brush to remove sap and debris from saw blades, and sharpen them while they're still clean. I keep a small sharpening stone in my toolbox for quick touch-ups. Store spray paint and other chemicals in a cool, dry place to prevent degradation. Trust me, this small effort will make your next clearing project go much smoother.
Pro Tips for Clear Land Of Small Trees And Brush
- Real talk: Clearing land efficiently means avoiding common mistakes that waste time and energy. These tricks will hel...
- Safety First: I can't stress this enough—wear heavy-duty gloves, long sleeves, and safety goggles at all times. Brush...
- Cutting Strategy: When making your initial notch in Step 2, use a bright-colored spray paint to mark the direction yo...
Frequently asked questions
Got questions about clearing land of small trees and brush? You’re not alone! Here are some of the most common concerns—and straightforward answers—to help you tackle the job like a pro.
What’s the best time of year to clear brush and small trees?
The ideal time is late winter or early spring, when plants are dormant but before new growth starts. Avoid clearing in dry conditions (fire risk!) or during wet seasons (soil erosion). If you’re working in summer, do it early in the morning to avoid heat exhaustion.
Do I need a permit to clear brush on my property?
It depends on your location! Many areas require permits for clearing land over a certain size or near waterways. Check with your local county or city planning department to avoid fines. Even small projects may need approval if they involve burning debris or altering drainage. Always better to ask!
Can I just burn the brush and trees I remove?
Burning is often the fastest way to dispose of debris, but it’s highly regulated for safety and environmental reasons. Only burn in designated burn piles, follow local burn bans, and never burn during dry spells. Alternatives like chipping or hauling debris to a landfill may be easier and safer.
What’s the fastest way to clear a large area in one weekend?
Prioritize efficiency with these tips:
- Divide and conquer: Split the area into sections and focus on one at a time.
- Use the right tools: A chainsaw for trees, a brush cutter for thickets, and a wheelbarrow for debris.
- Work in teams: Enlist friends or rent a wood chipper to speed up the process.
What should I do if I hit a root or stump I can’t remove?
If you encounter a stubborn stump or buried root, don’t force it—you could damage your equipment or injure yourself. Use a stump grinder or call a professional if the root system is too deep. For small roots, a shovel or mattock can help loosen them safely.
Are there any alternatives to cutting everything down?
Yes! If you want to preserve some greenery, consider:
- Selective clearing: Remove only the brush and trees blocking sunlight or access.
- Mulching: Chip the brush into mulch for garden beds or pathways.
- Natural decomposition: Leave smaller branches to break down over time (but monitor for pests!).
Wrapping up and next steps
Clearing land of small trees and brush doesn’t have to be a daunting task—with the right tools, safety precautions, and a solid plan, you can transform your space in just one weekend! 🌱 Whether you’re prepping for a new garden, building project, or simply tidying up, breaking the work into manageable steps (like stump grinding, cutting brush, and debris removal) makes it achievable.
Remember, safety and efficiency go hand in hand, so pace yourself and celebrate small wins along the way.
Now that you’re armed with the know-how, take that first step—start by gathering your supplies, marking your work zones, and tackling one area at a time. Before you know it, you’ll have a clear, usable space ready for your next big project. You’ve got this! 💪